
This is a short post about how I create the tracks for the Biathlon board game SKOOT I developed.
Step one: find the course
Biathlonresults.com is the place I go to for tracks, mostly because the images not only show the loop but also give an indication of elevation, which I use to determine where to put the climbs and downhills.
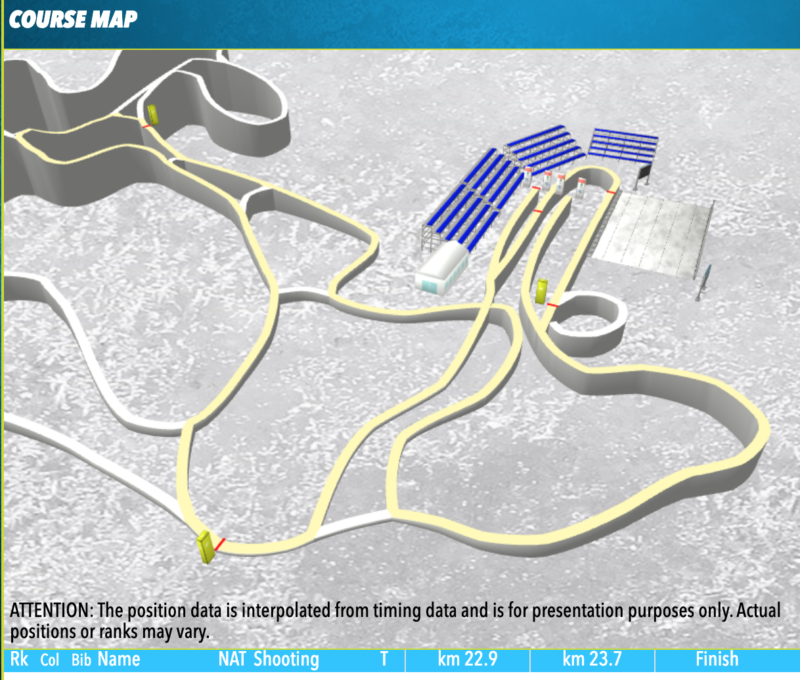
They are also good to see the stadium layout, so where the start, finish, range and penalty loop are located. Those are typically the hardest to fit all together in a way that can be used for the game while keeping it somewhat realistic.

Due to the width of the course required to play the game, I often don’t have the space to make the board game track exactly like the course picture from biathlonresults.com
Creating the tracks
I use a tool called Gravit designer, in which I start with a file that has all basic shape, path and text elements required for the tracks.
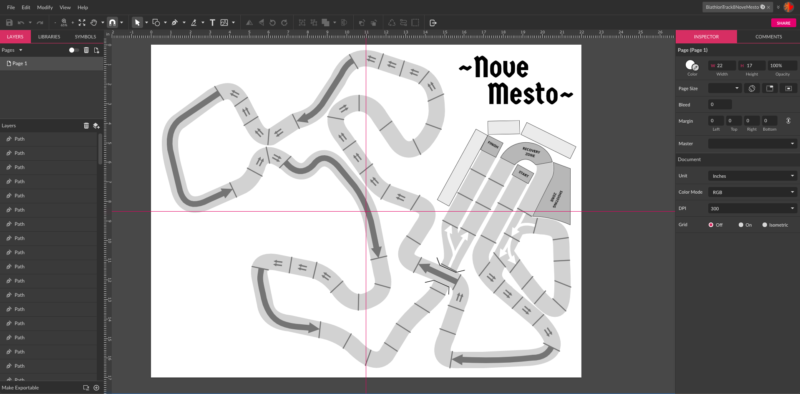
After drawing out the basic loop, I start adding the start and finish tracks, the penalty loop and the start, finish, recovery and shooting areas. I keep the tracks wider than “realistic” to ensure tokens will fit, and the penalty loop specifically is longer than “realistic” just to allow 7 tiles to be created (I used 7 as it then on average will take two turns per penalty loop).
Once the base track is in place I generally add the climbing and downhill zones, after which I start adding the separators that create the individual tiles. When that is all done (and the creation of the tiles is probably the most tedious and time-consuming) I add the other features like arrows, stands, bridges and buildings. Oh, and the course name of course!
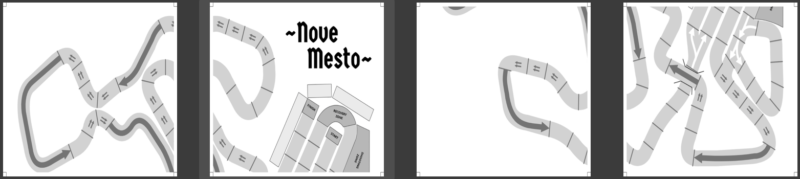
After trimming the paper so that everything roughly fits on four letter size pages I create a JPG, which I then look into a tool that creates a four page document with margins and slight overlap, called rasterbator.
The whole process takes a few hours.